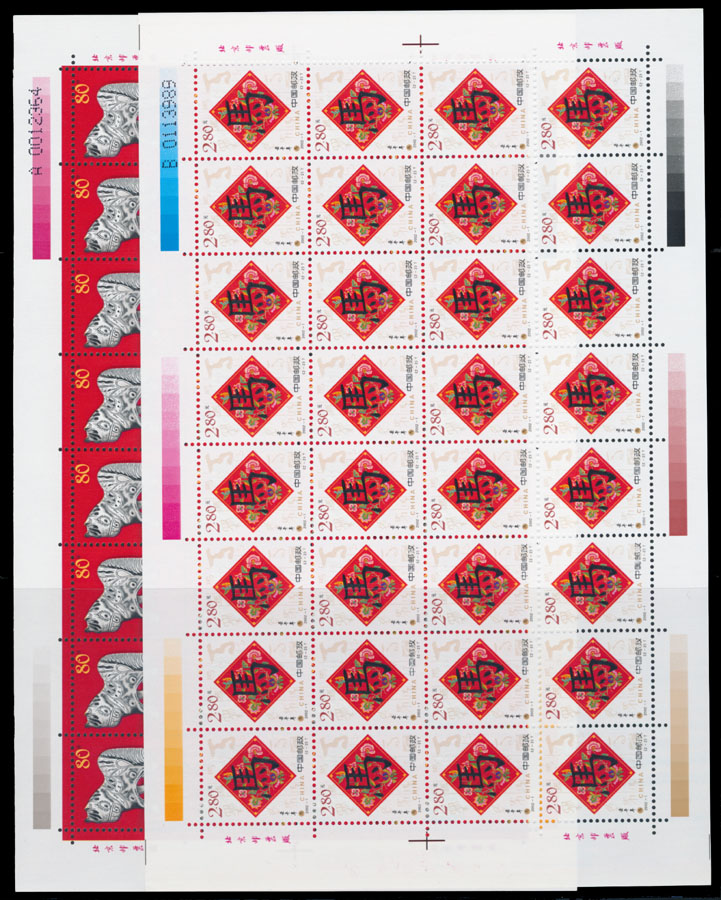
Image #9

Lot #
249 | ** ![]()
|
Click here to see Part 2, Click here to see Part 3, Click here to see Part 4, Click here to see Part 5, Click here to see Part 6, Click here to see Part 7, Click here to see Part 8, Click here to see Part 9, Click here to see Part 10 . Click here to see the main image. |